I want to write a longer post about what I went through to produce a specific image. When I was coming back to the car after I took the pictures of the “Wacotown” sign on the building at fourth and Franklin, I looked and saw the combination of the clock on the WISD’s Mae Jackson Building and the ALICO Building.
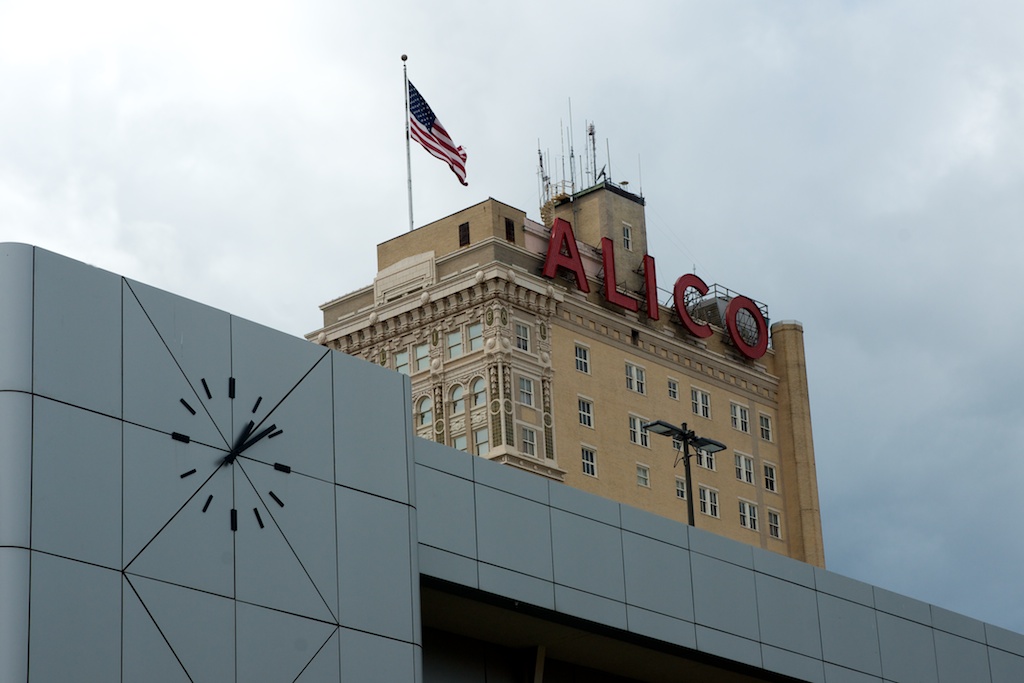
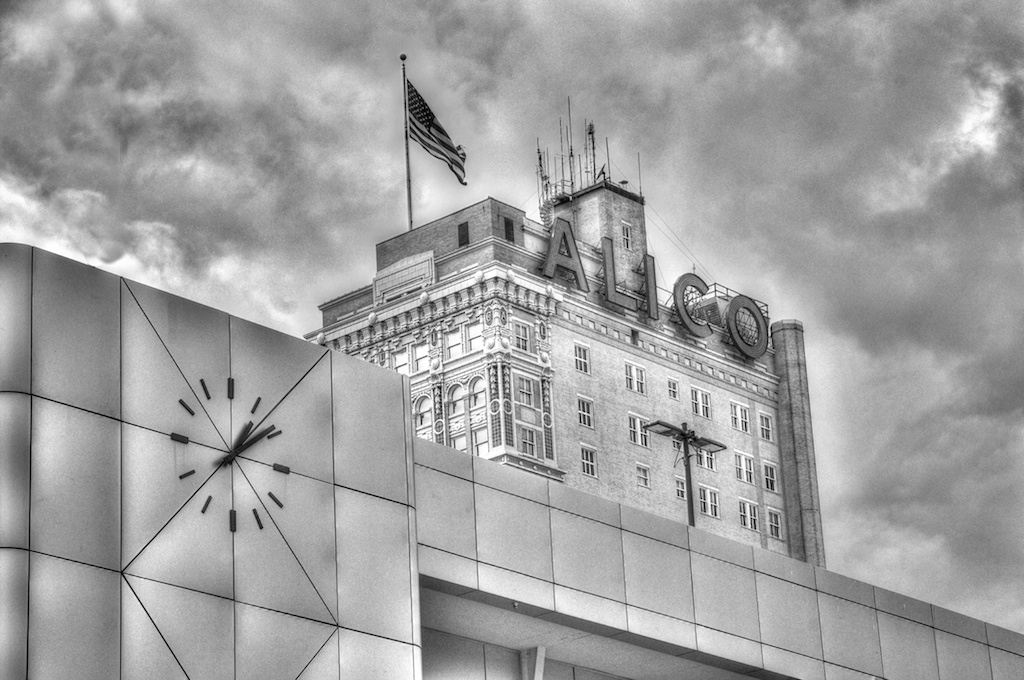
I used the exposure brackets in the camera to take three pictures – one correctly exposed, one under exposed and one over exposed, and used the HDR software to produce an HDR version of it.
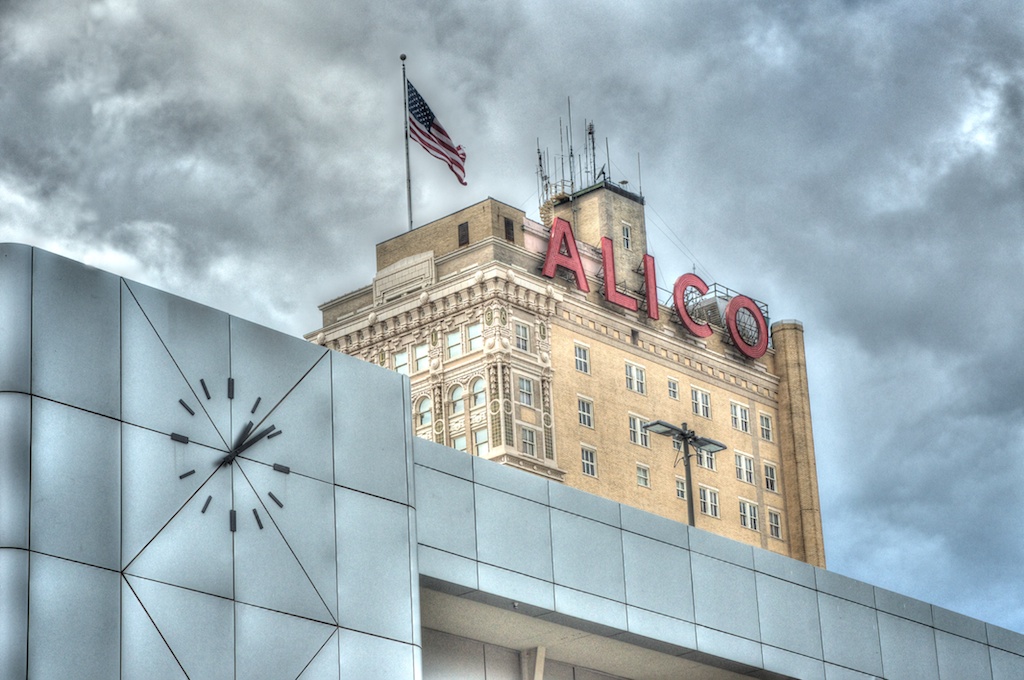
I liked that, but, somehow the clock was giving me an art deco vibe, and that made me wonder how this would look as a black and white image. So, I took the HDR image and removed the color in Aperture.
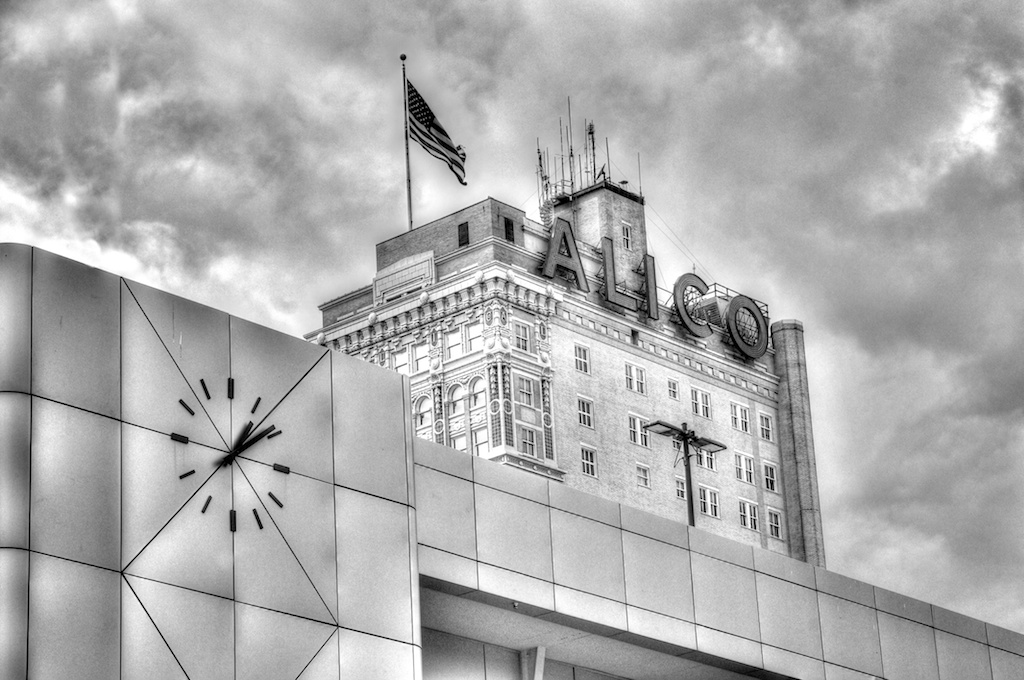
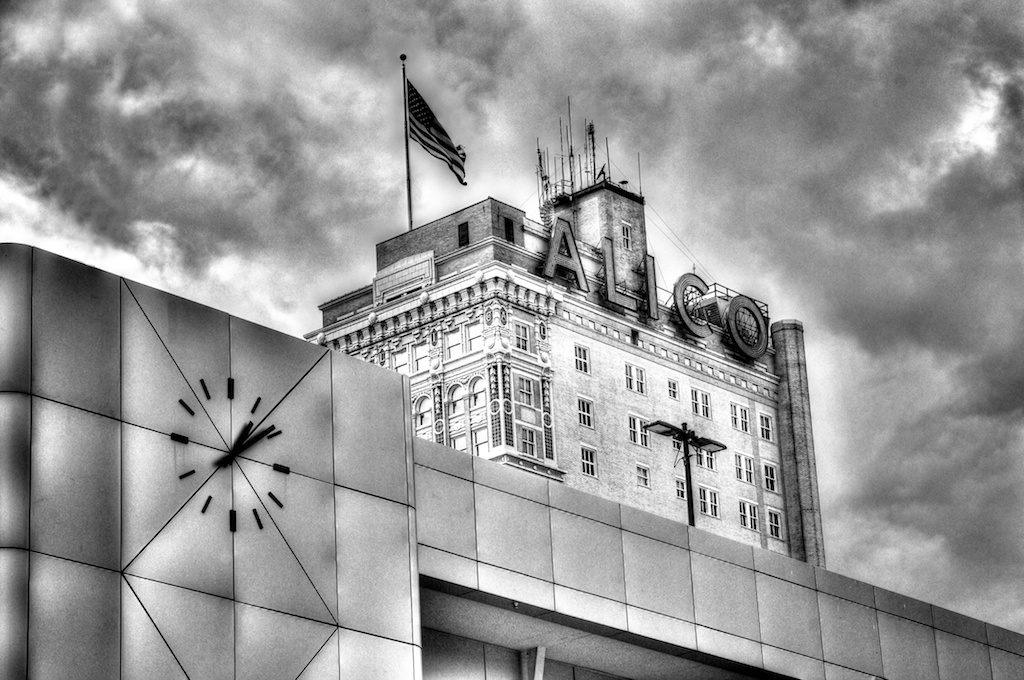
That had a rather dark and brooding nature as a result of the HDR treatment. I decided to try something else, and used NIK effects Color Effects Pro on the HDR image to make a Black and White version.
That made it a little darker and even more broody. I tried Using NIK’s Silver Effects Pro on the HDR image and got this.
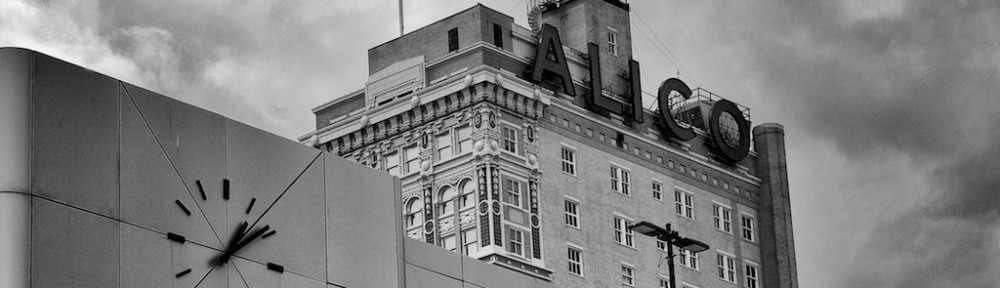
That was really dark and broody. It had almost an old horror movie feel to it, and it looked really grainy like it was shot on tri-X film and pushed. So, I wondered what it would look like with less treatment. I went back to the original, single image that was correctly exposed and used Silver Effects on it to get this.
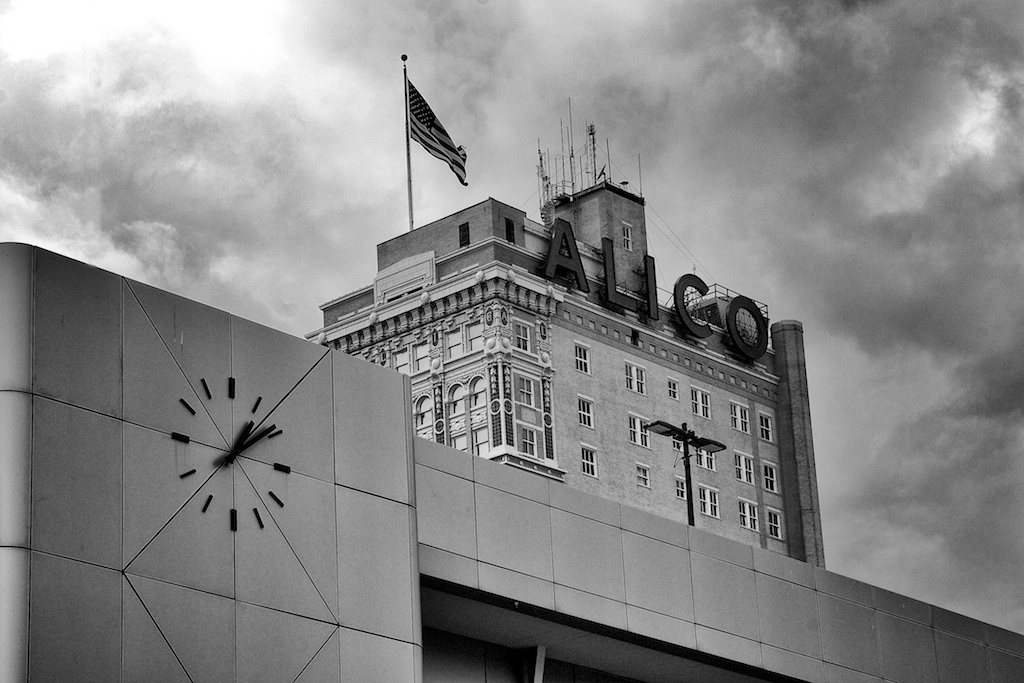
This is much “cleaner.” I think I am going to make an 8×10 print of it, and put it in an 11×14 mat in a simple black frame.